
 |
Starting a New Campaign
The first thing you will need to create is your "Top Most Map." Campaign Creator does not currently have any map making abilities so you will need to create this image else. Your Top Most Map is the largest map your game uses. This can be anything, from a house, to a town, to a world, to a galaxy, etc. It doesn't matter what you use, as long as it represents the largest setting in your world.So take some time to sketch this out. It doesn't have to be perfect; you can always update the graphic later. Please note that if you are using Windows 10 you will only be able to upload PNG files. We will address this issue soon.
 |
| Go ahead. I'll wait |
 |
| My Top most Map |
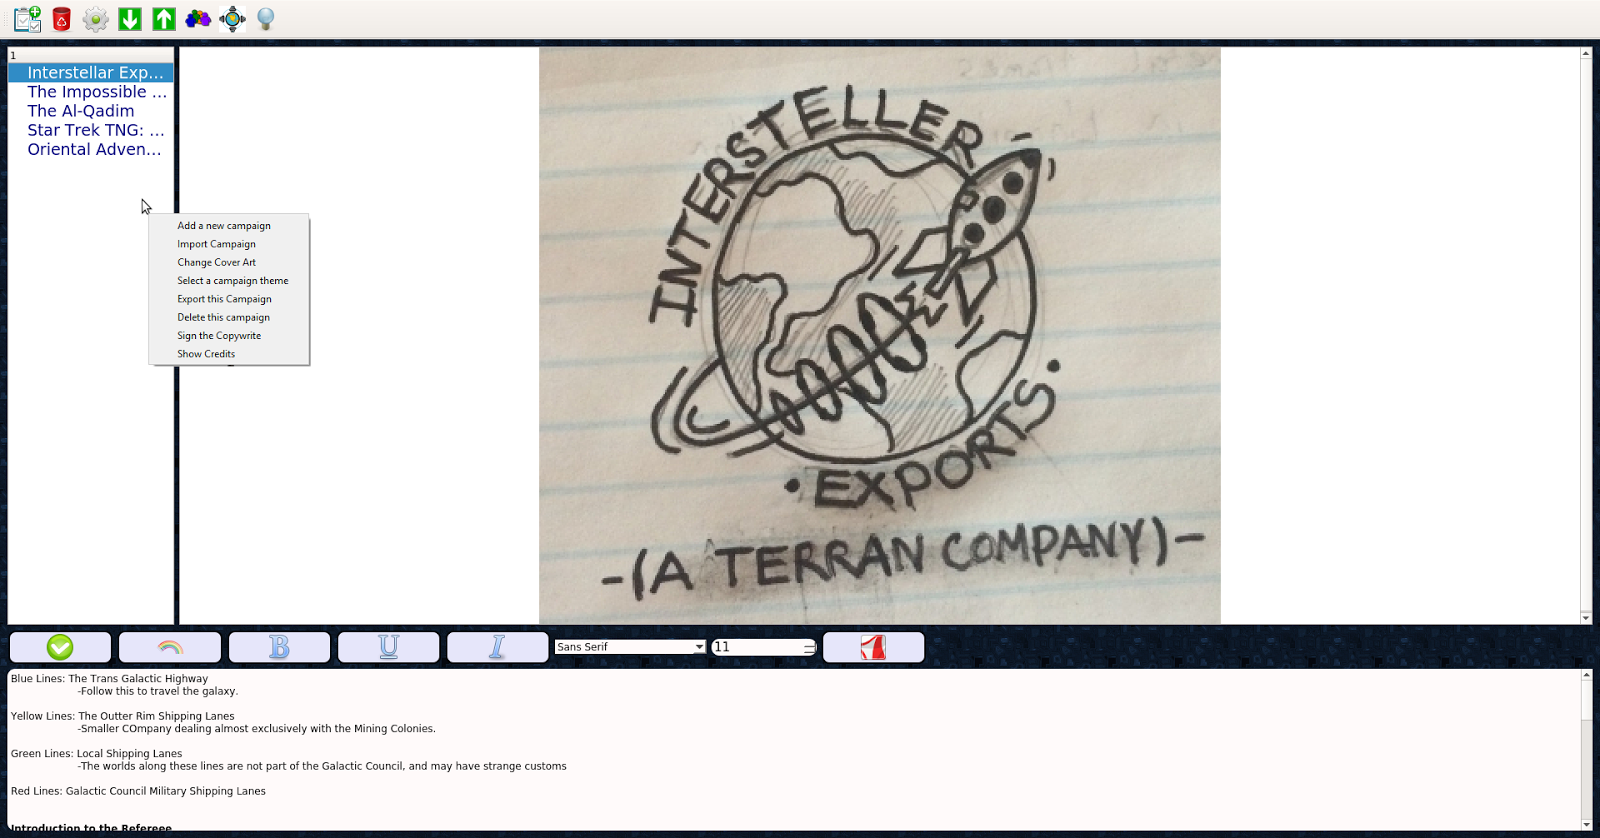 |
This list also gives you the ability to "Import" and "Export" campaigns to and from the program allowing you to share your worlds with your friends. From here you can also "Change the Cover Art" of your campaign (more on that later),
"Change the Theme", "Delete the Campaign", "Sign the Copy Write" so that people know you worked on it, and "Show the Credits" which shows you everyone who has signed the copy write.
To start a new campaign we need to select "Add a new campaign" which will bring you to the next menu, and get you on your way!
 |
The third field is for giving your campaign Cover Art. This is the image that will display on the Campaign Creator Main page. If you leave it blank it will default to your Top Map. I have chosen an image of the Ptolemaic Sphere that the world of Rin exists in.
The final step is to select a theme for your campaign. Since Rin is a Western Medieval setting, I am going to select the default stone theme.
Once you are finished, click OK and you new campaign will appear in the list on your main page.
 |
| And your new campaign is ready! |
Editing you Campaign and Adding Locations and Notes
After opening your campaign you will be brought to the editing screen. On the left hand side is a list of the maps you have in your game, and on the right is a table of contents for the locations on this map. |
 |
 |
 |
But what if you wanted to get more detailed then your Top Map allows for?
Adding a Sub-map
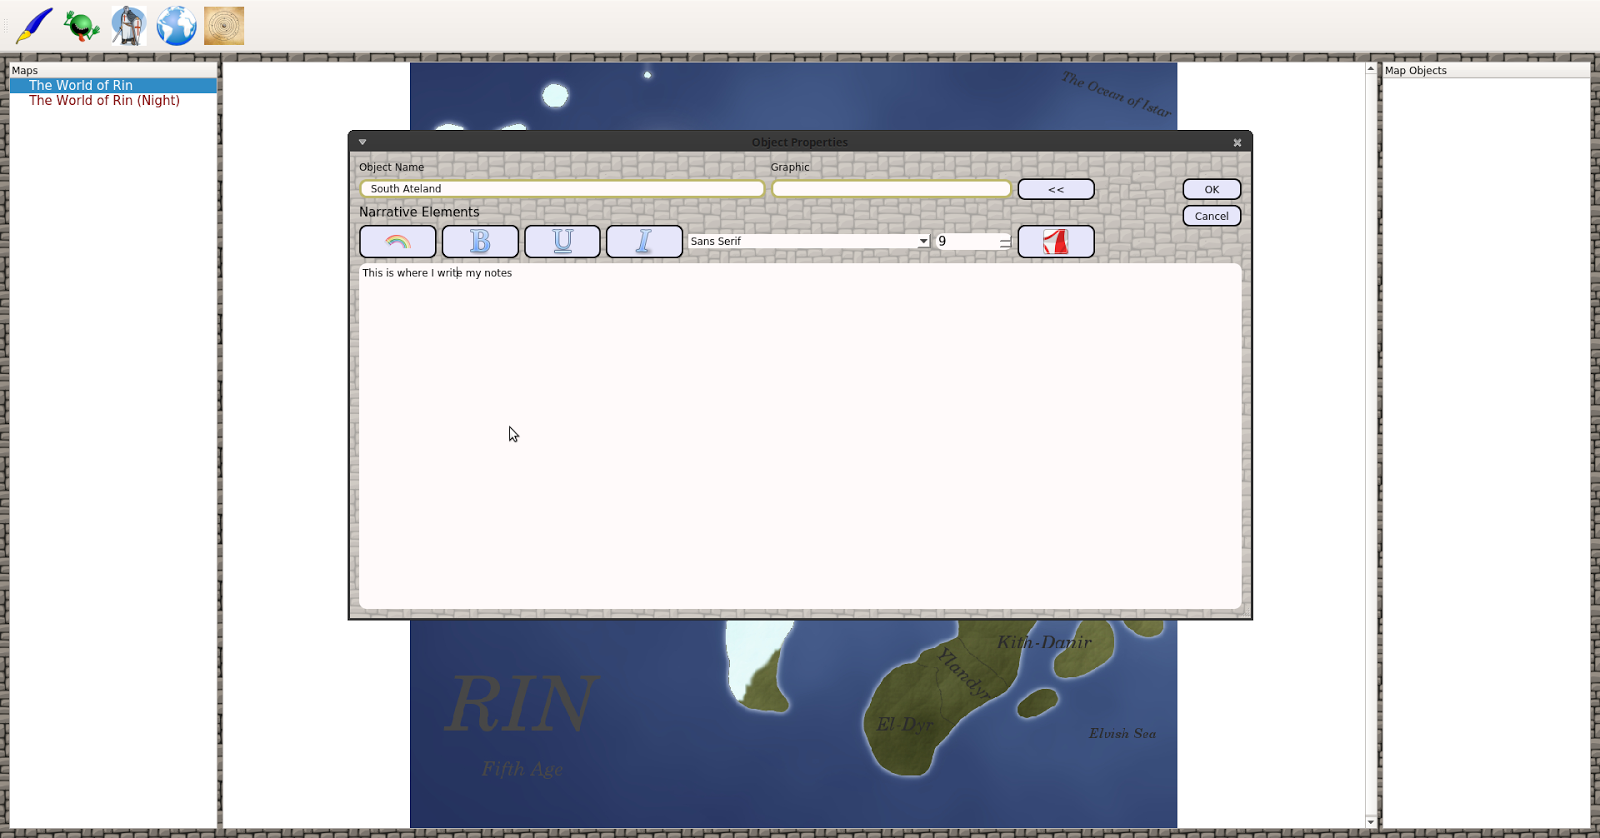
To add more detail to your world you will need more maps of the locations your game takes place in. So take a minute and get those created.Sub-maps are more specific locations that your game goes to, and will usually be a zoomed in section of the map above it. Since South Ateland is a country in the World of Rin, I will want to add that as a sub-map of my Top Most Map.
 |
| South Ateland in detail. |
 |
 |
 |
For the World of Rin there are a lot of locations within locations, so I will have a ton of sub-maps to help organize the world. Under the South Ateland map I will have sub-maps of my towns, and the towns will have sub-maps with specific locations that the players are bound to visit.
How many sub-maps you use is up to you, it all depends on what level of detail you wish to put into each location.
Additional Notes
There are of course some notes that don't quite fit in any location. Whether they are Notes for your player characters or your introduction speech, etc. To accommodate this every map you put in Campaign Creator has Three buttons along the top menu that will open notes dialogues. |
This way you can keep some of those game mechanics notes out of your story notes on your map, while still having them associated with the location.
For The World of Rin I am going to put my opening speech in the general section of the Top Most Map.
 |
Night Maps
Since many campaigns have locational information that changes depending on the time of day, You will notice at the bottom of your map list there is a copy of your top map, but the text is red and it is says (Night) beside it.Night Maps let you add in a "night time" location, or any map that will be different at a certain time of day in game.
For my World of Rin Campaign the Village of Woods Deep becomes overrun with the Undead at night, so I am going to add a night map of Woods Deep to handle that.
 |
Conclusion
That should give you everything you need to know about setting up your game in Campaign Creator.If you get stuck, a good rule-of-thumb to follow is right clicking. It will usually open a menu that will give you the option you need.
The Future of Campaign Creator will include a Map Maker to let you create your own Maps, as well a game mode which will let you communicate with your players.
You can download your free beta version of Campaign Creator here:
https://jade-gaming.myshopify.com/collections/the-campaign-creator
And start writing your campaign! Happy Gaming!
Written by: Andrew Gregory
How to Use Campaign Creator
 Reviewed by JADE Gaming
on
9/03/2015 04:34:00 pm
Rating:
Reviewed by JADE Gaming
on
9/03/2015 04:34:00 pm
Rating:
Reviewed by JADE Gaming
on
9/03/2015 04:34:00 pm
Rating:
No comments: